MULTI-LAYER BLOCK PRINTING ON FABRIC
Create in Place
a collaboration with Speedball Art

This project is intended for the printmaker looking to take their skills to the next level. Multi-layer block printing is a fun way to create a pop-tone, emphasize texture and play around with pattern.
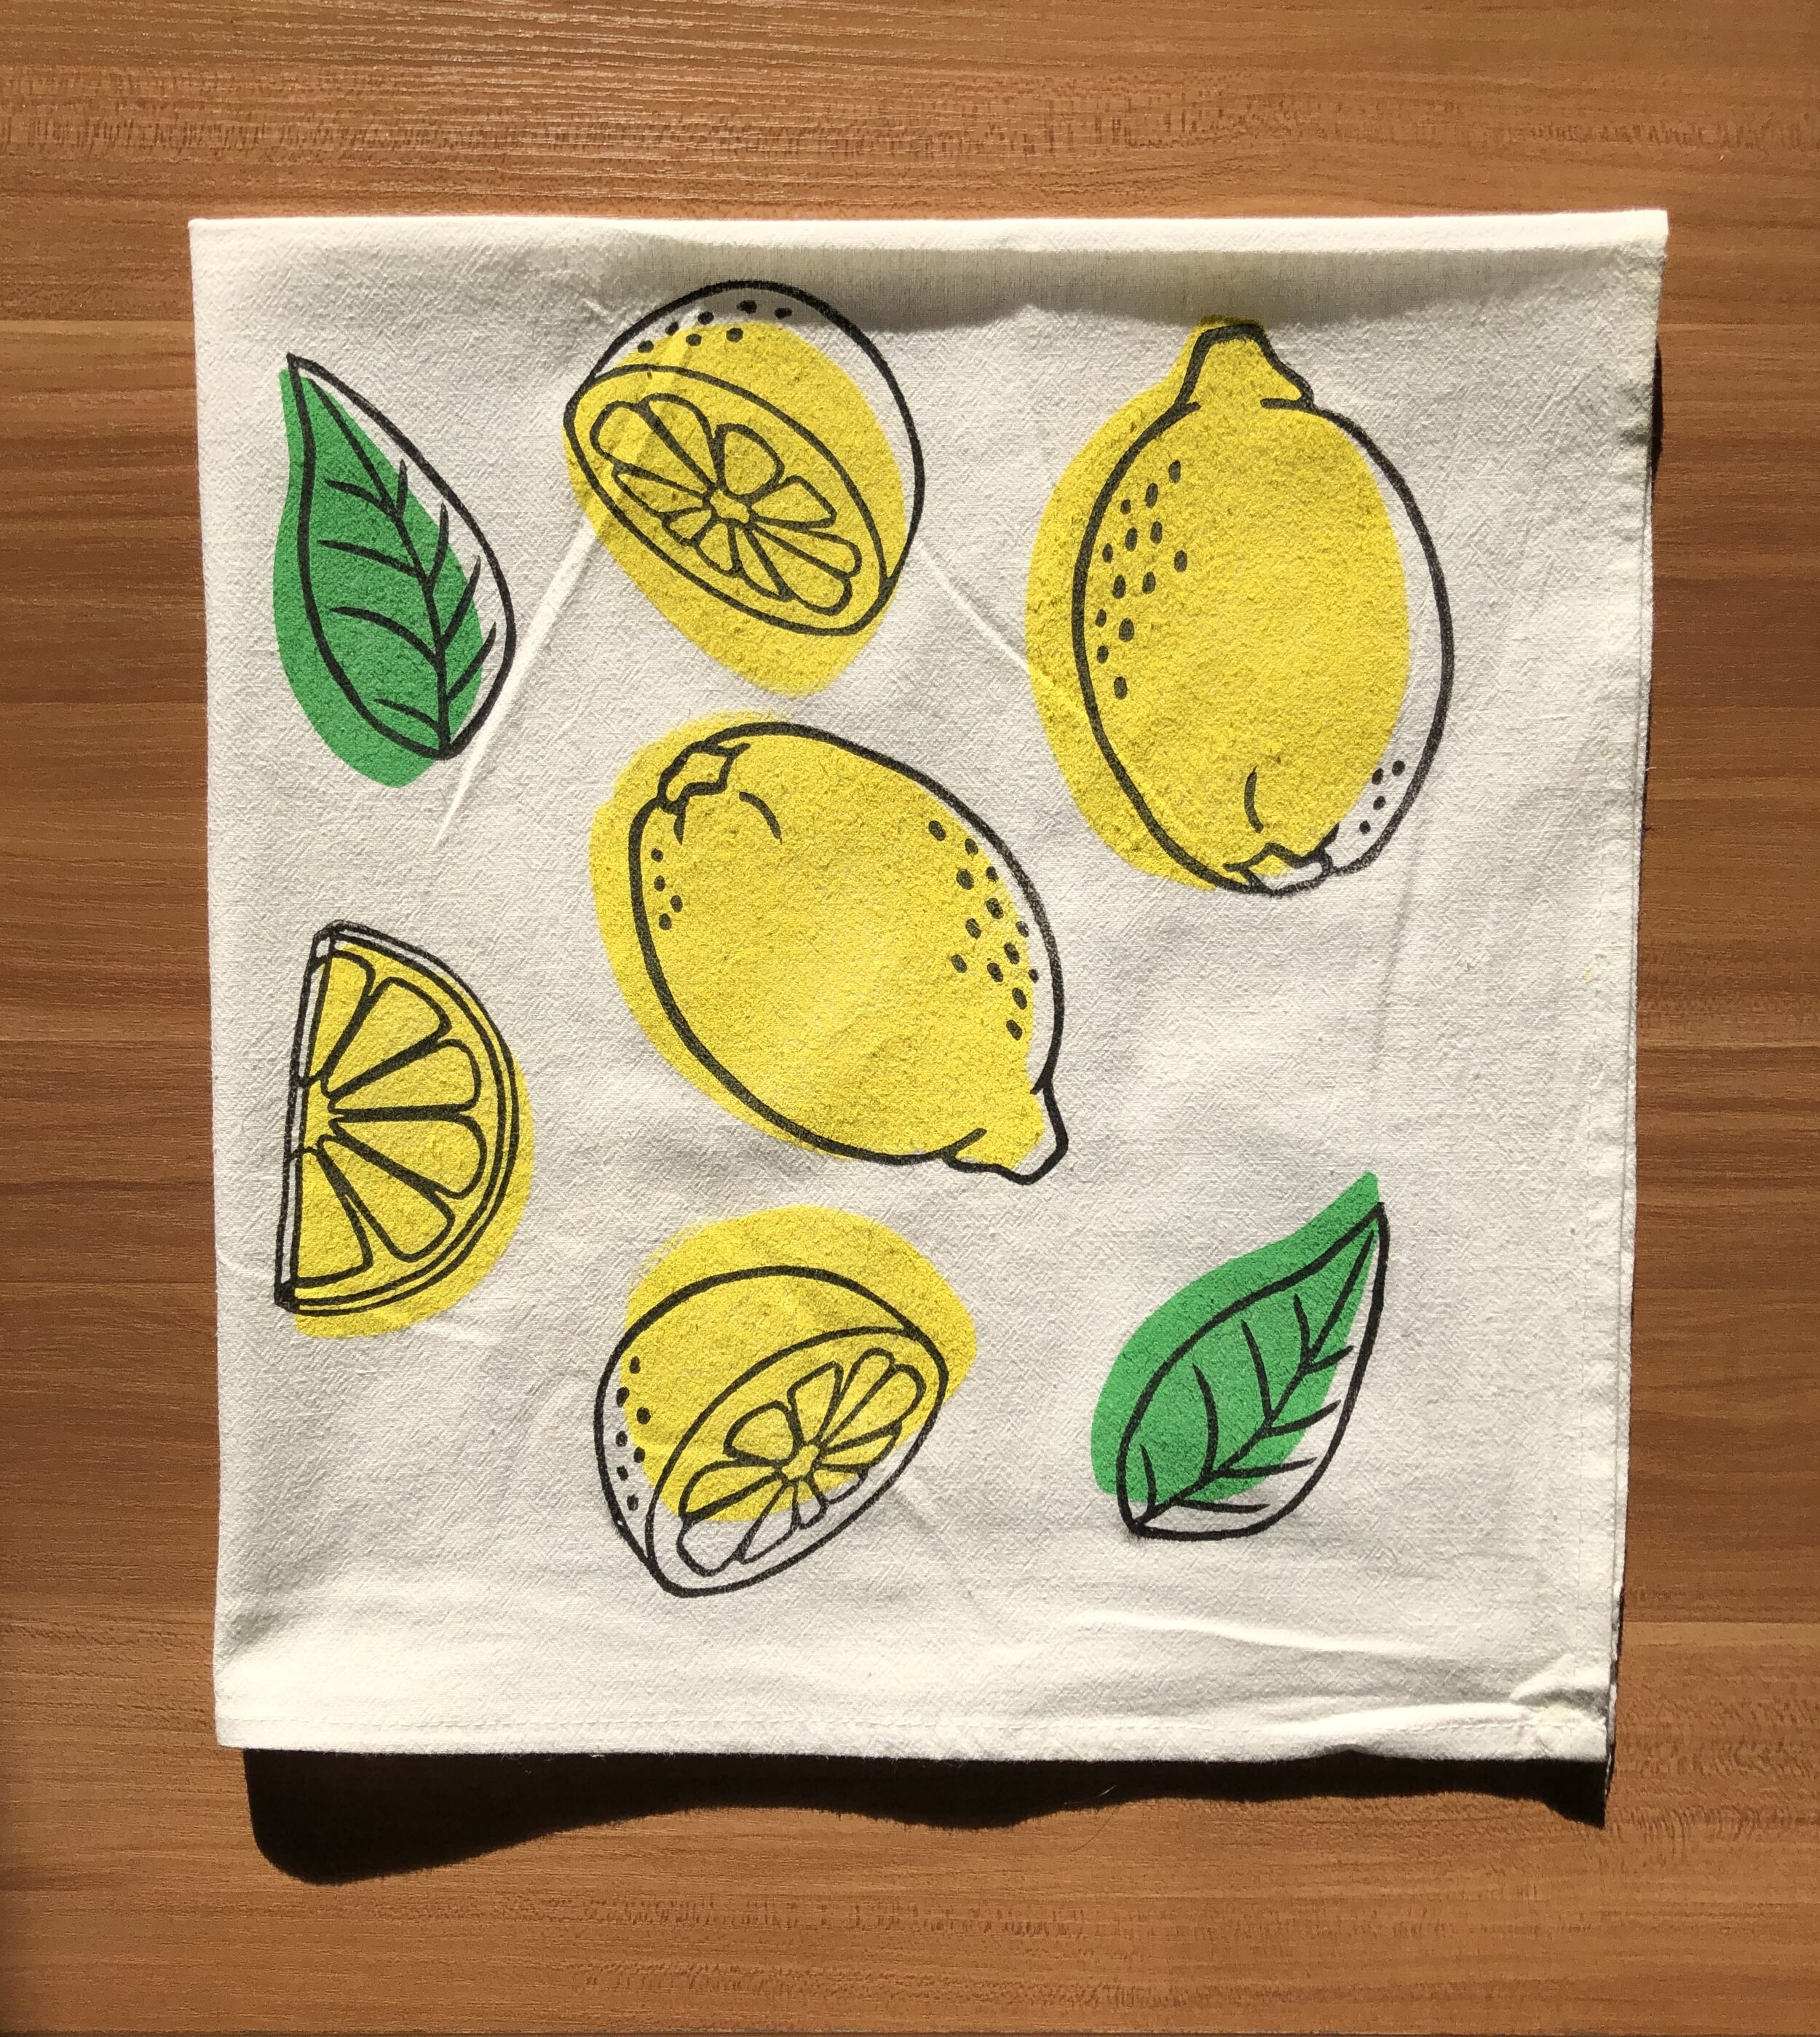
First things first, what are you going to draw?! I like to think of this project like a coloring book. We have the fill layer - block 1 and the outline layer - block 2. Maybe you’re inspired by the flowers on your daily walk, the plants you’re lovingly over watering or your fluffy companion that’s still unsure why you’re home all day. Whatever you decide to carve I hope this project brings you a creative burst of energy during these strange times. I’ve been spending more time in the kitchen so I sketched a lemon from multiple angles.
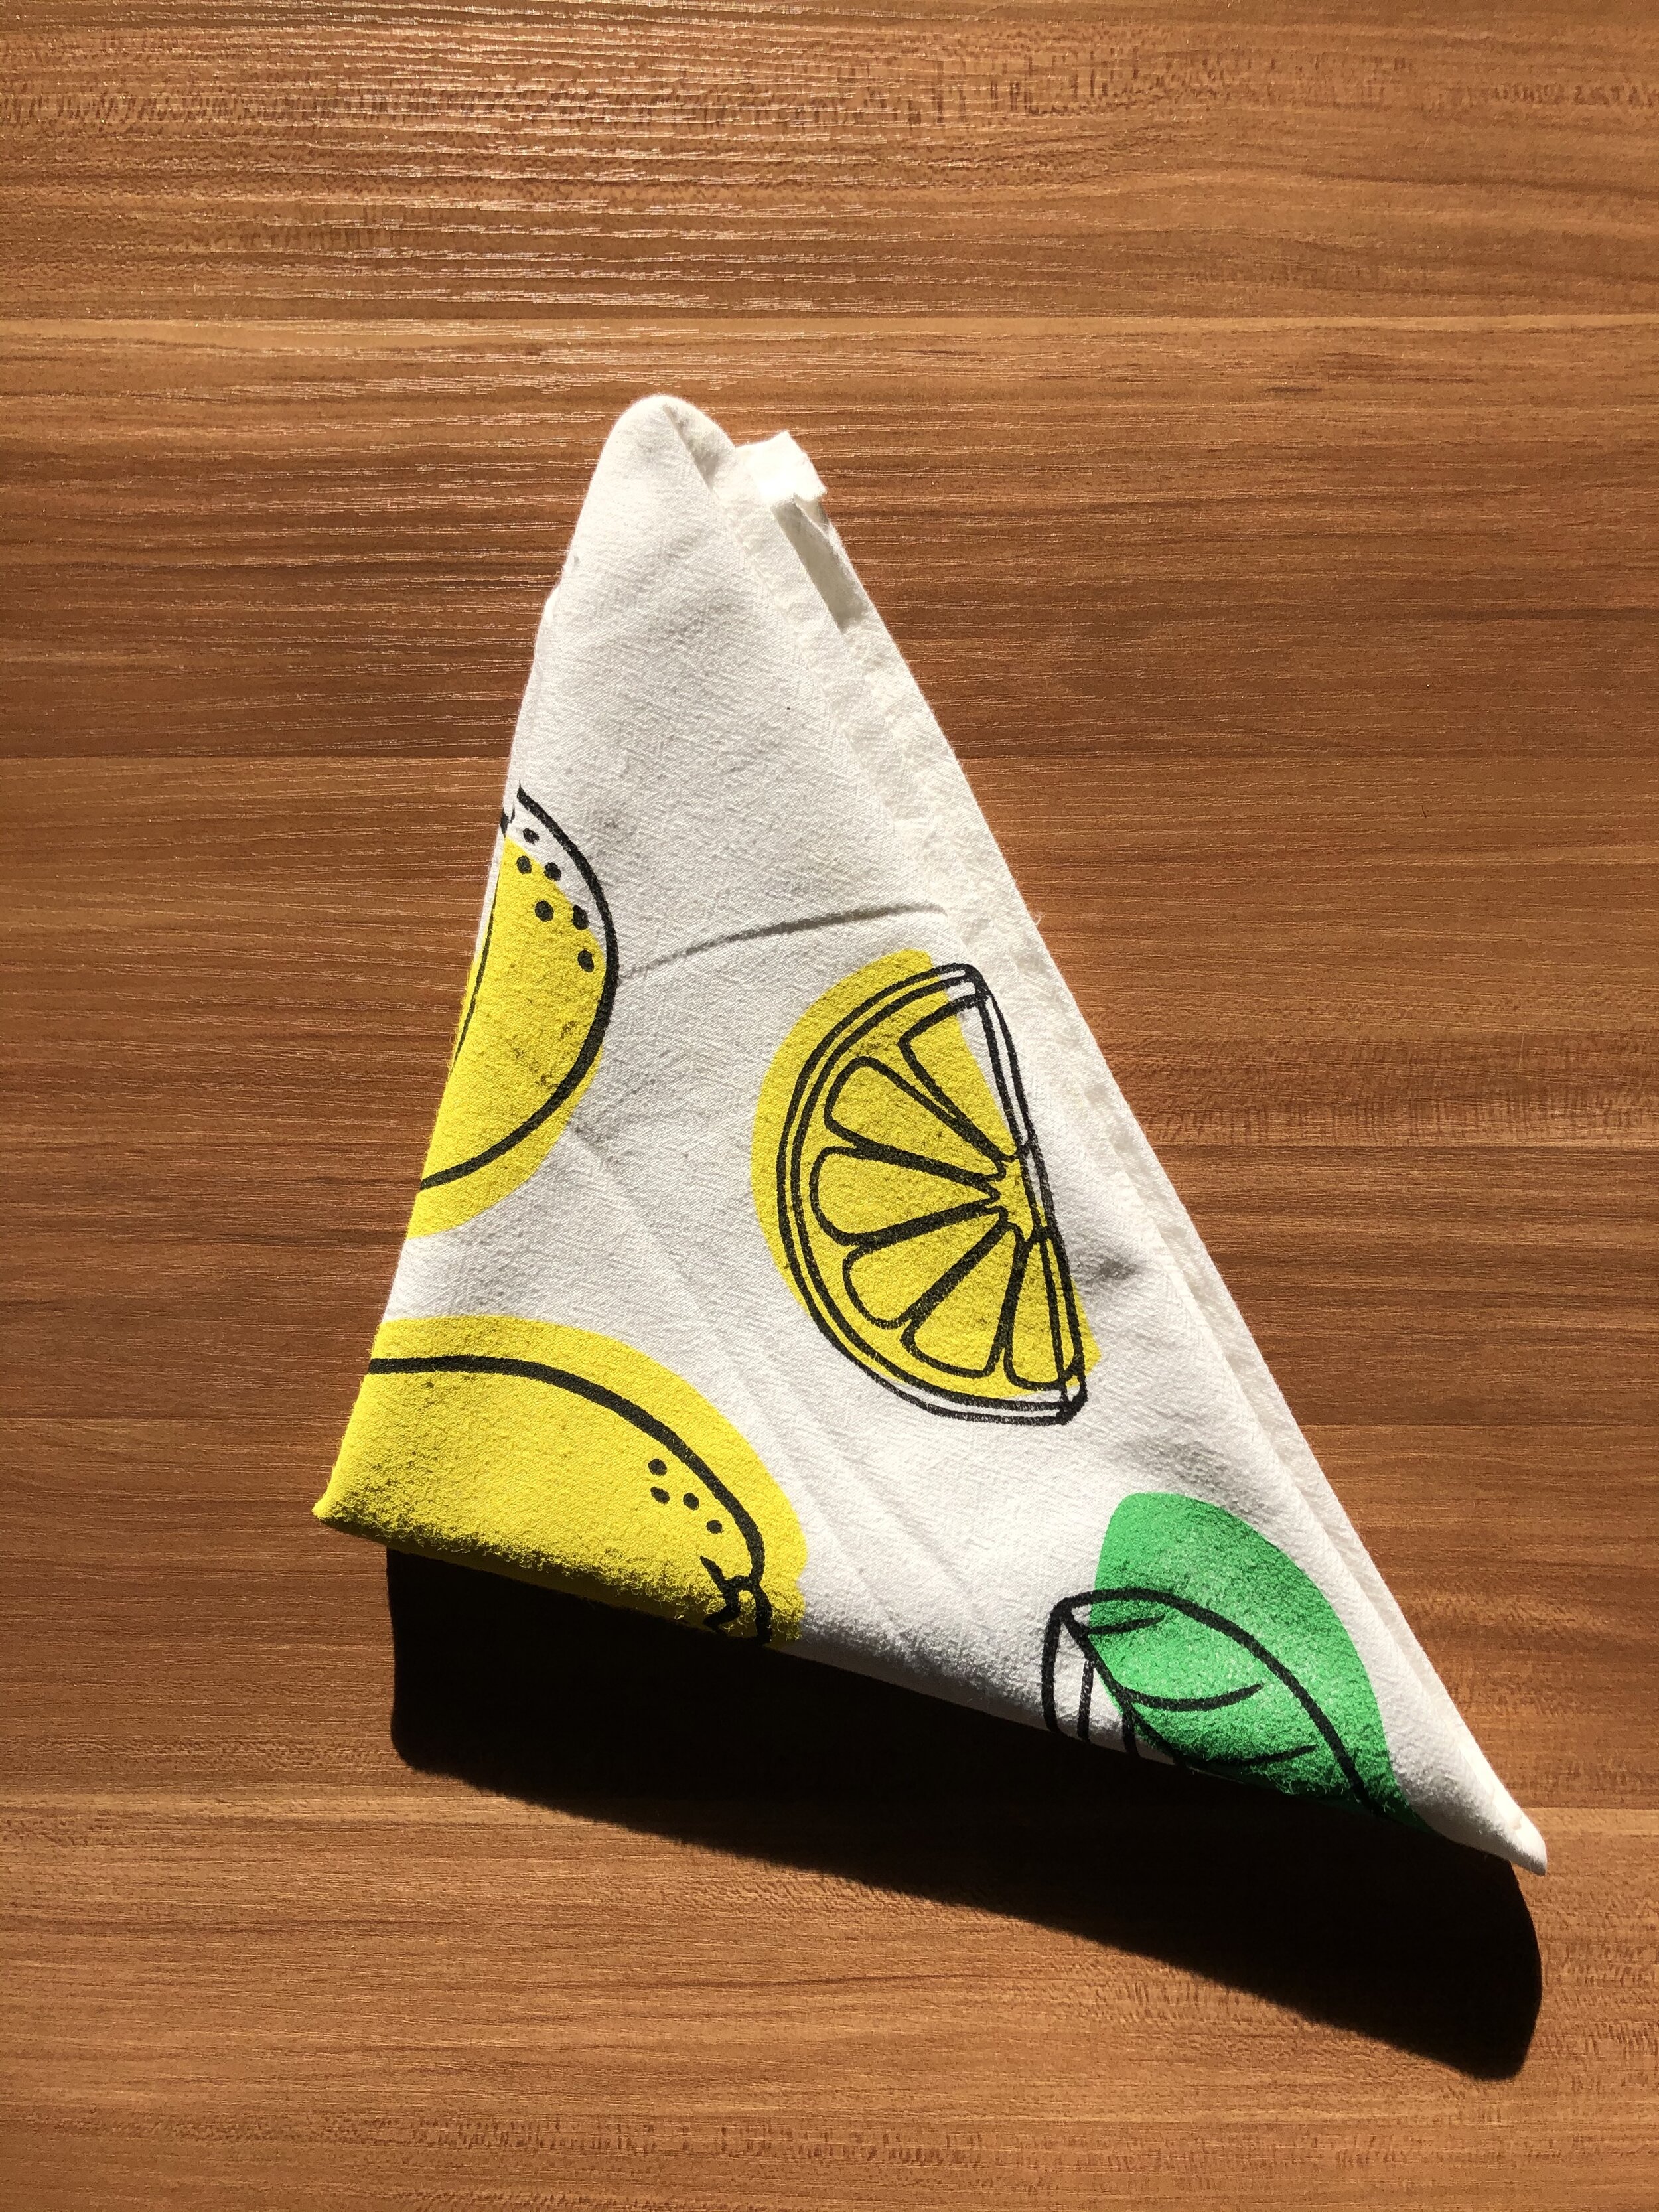
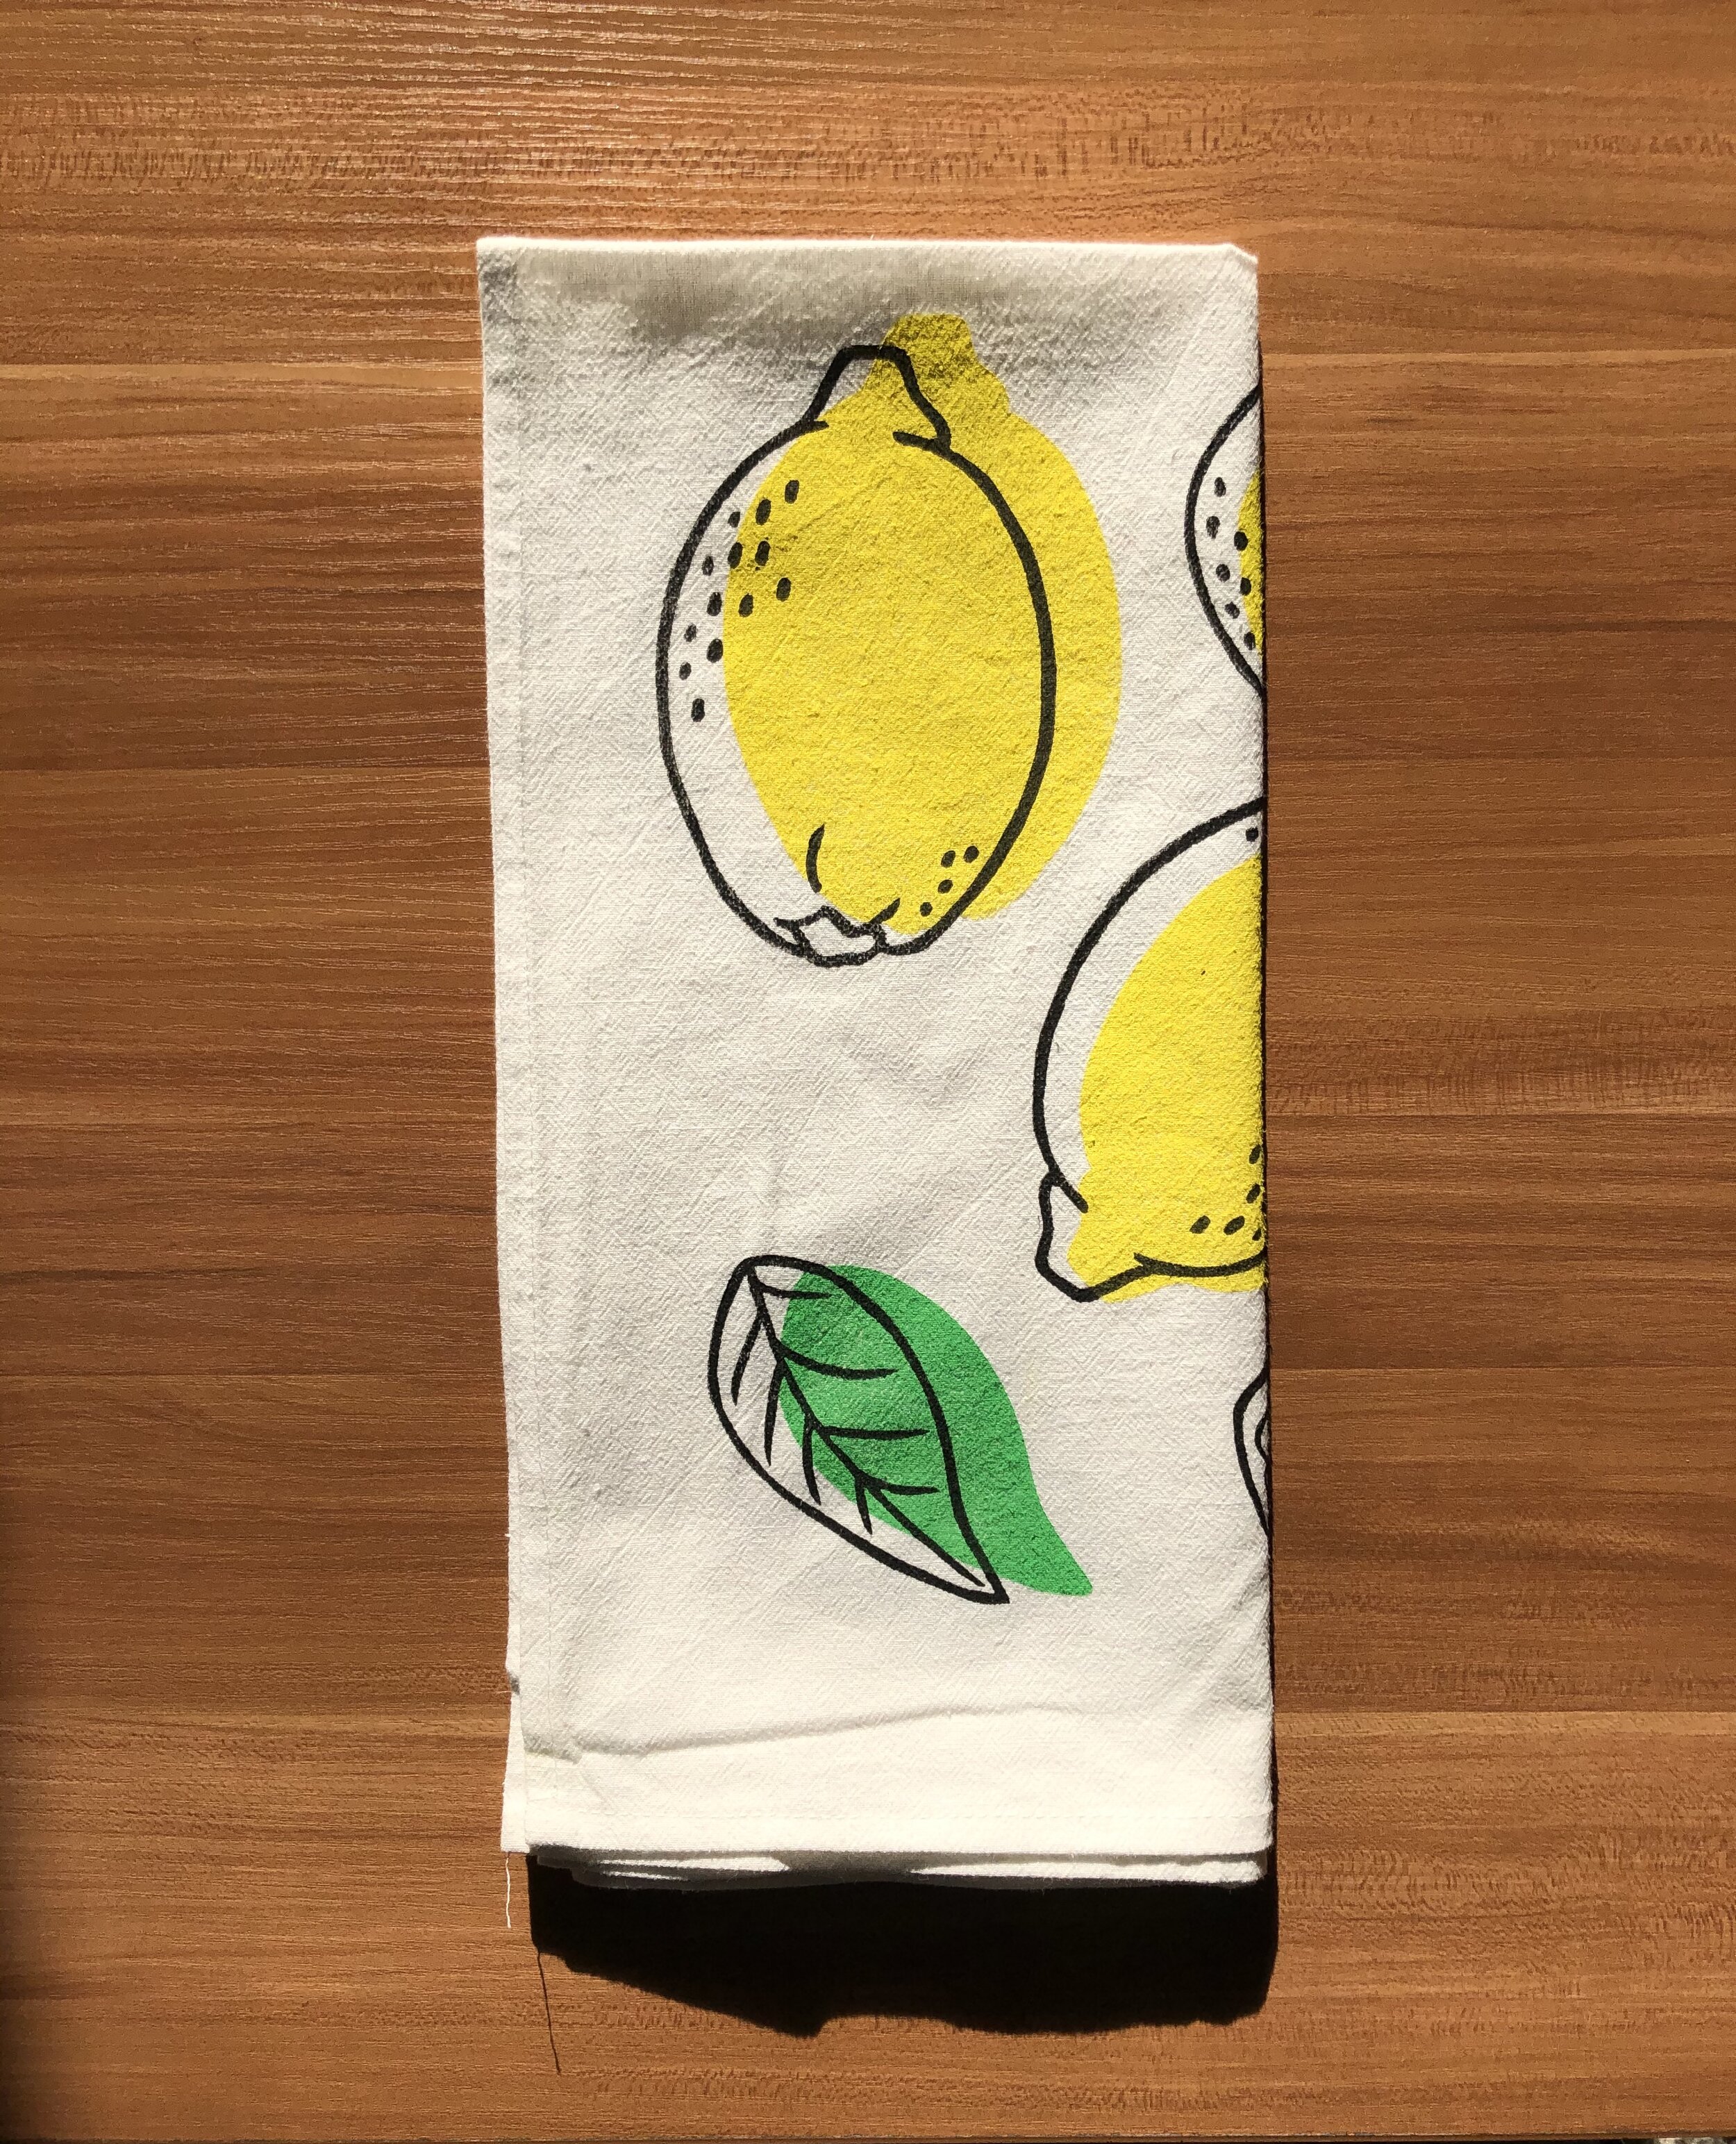
Next up, what are you going to print on?! You could add some flare to the pocket of a t-shirt or a pop of color to a pillow case. The possibilities are endless. I printed my design on a cotton tea towel that I’m gifting to a friend who made me a special quarantine birthday cake last week. Block printing on fabric makes an excellent gift!
Materials
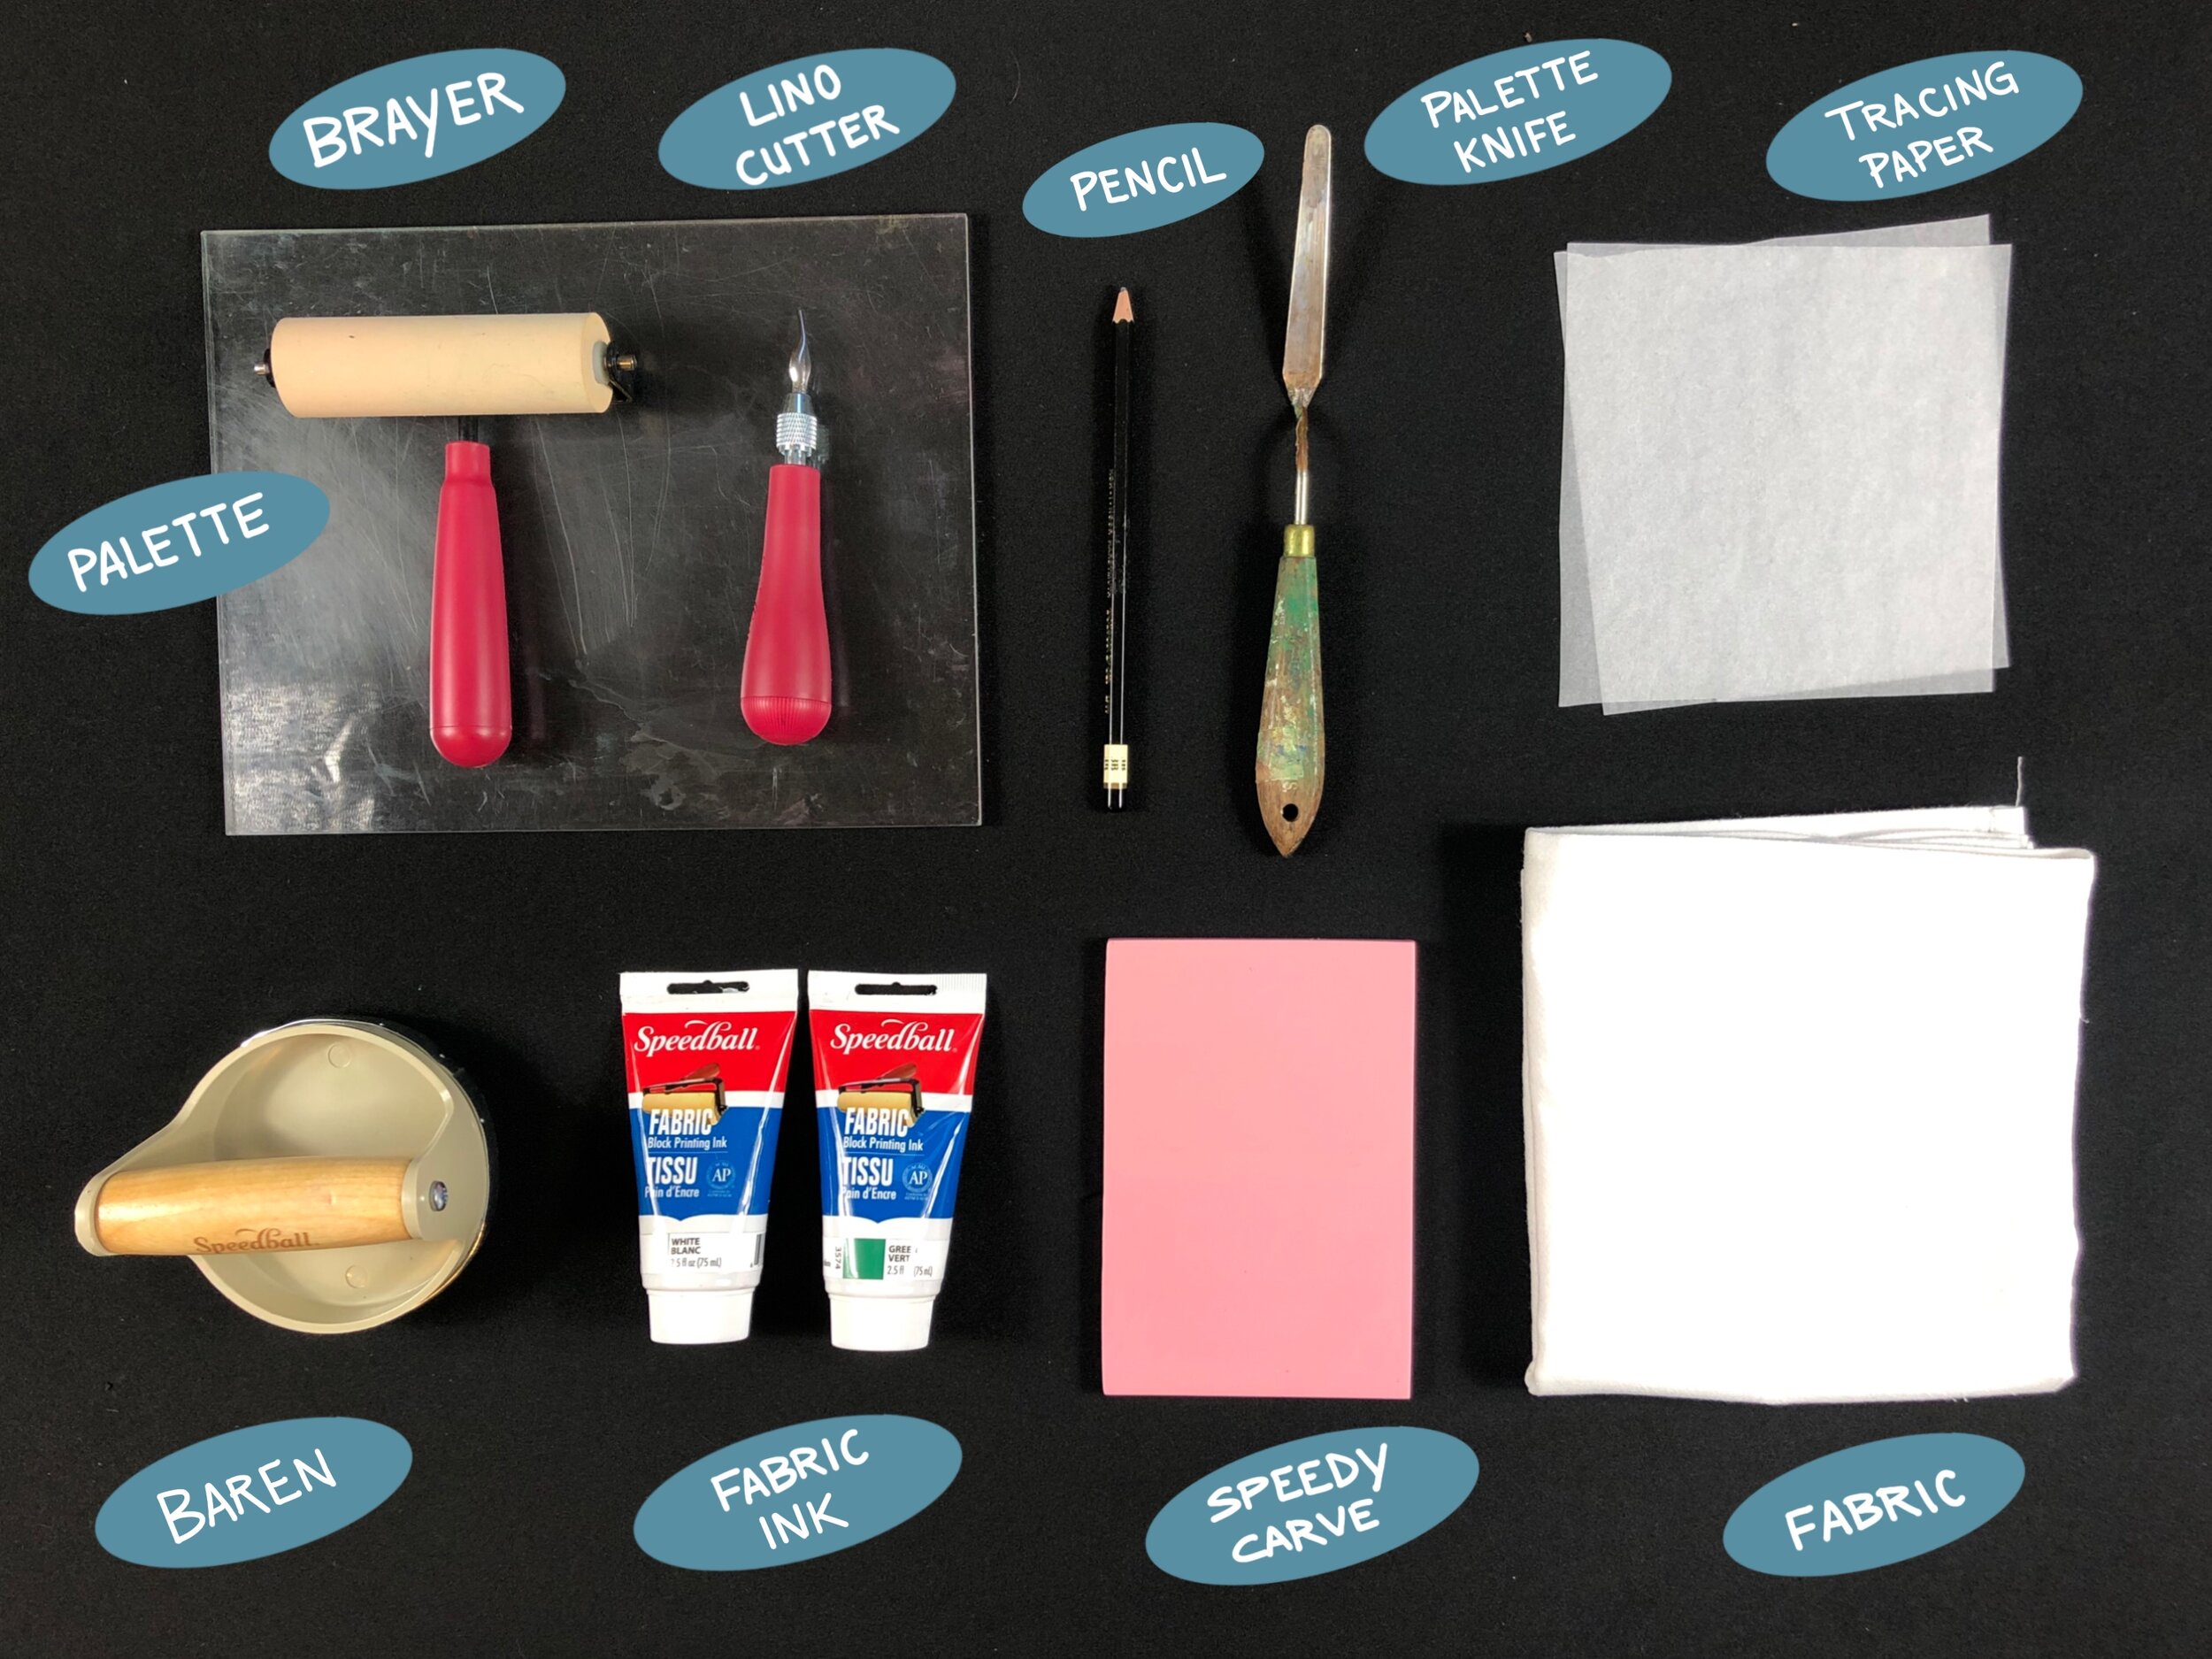
Block: Speedy Carve for the win! This pink rubber material is perfect for printing on fabric. It’s affordable, easy to carve and retains detail over time.
Gouges: I’m not sure if it’s the angle of the blade or the softness of the material, but one thing I learned working with Speedy Carve is that Speedball’s linoleum cutters work best. The Lino Set No 2 is my favorite. It comes with two handles and six cutters. Two handles may seem excessive but if you find yourself switching blades as often as I do it’s well worth the cost. The gouges I use most often are 1, 2 and 4.
· Small V gouge (1)
· Large V gouge (2)
· Small U gouge (3)
· Square Gouge (4)
· Large U gouge (6)
I’ve purchased an assortment of Japanese gouges from McClain’s Printmaking Supplies over the years. I work primarily in linoleum and the Namisei Moku Hanga To set is fantastic. I have a highlight on IG detailing this set.
Brayer: I use Speedball’s soft rubber brayers. They’re affordable, they work well with oil-based and water-soluble inks and they come in a variety of sizes. The general rule of thumb is that the brayer should be slightly larger than the printing area on the block. I most frequently use a 3” and 6” brayer.
Baren: Printmakers love spooning! Aye! One of the first items I bought when I moved to Portland after college was a wooden spoon. It’s my prized printmaking possession! A wooden spoon works great to burnish thin papers like mulberry or kitakata into linoleum or wood.
For this project I recommend using Speedball’s baren. The baren provides even, consistent pressure that will not damage or scratch your material. Hand-stamping your block is always an option.
Ink: I love oil-based ink so when I found out that Speedball makes an oil-based fabric block printing ink I stocked up on every color. The colors are opaque, the ink cures in one week at room temperate (no ironing!) and it cleans up with soap and water.
Palette: This is used to roll out the ink. Any flat, slick surface will work (plate, glass, plexi). I use a piece of plexi I borrowed from an old picture frame.
Palette Knife: I use this to mix up my ink. Even if you are using a color directly from the tube it’s important to give it a stir to eliminate any separation.
Pencil: A 2B or 3B pencil is used to transfer your image onto the carving block.
Tracing Paper: I use tracing paper to hand burnish my drawing onto the block. I can get two transfers per line drawing.
Fabric: The Speedball fabric block printing ink works best on cotton, polyester, blends, linen, rayon and other synthetic fibers. Do not use on nylon fabric. I pre-wash my fabric and allow it to air dry.
X-Acto Knife: I use a knife to cut out the shape of my design.
Cutting Mat: This is used so you don’t scratch your favorite surface. A self-healing cutting mat is great investment.
Sketch + Transfer
The first thing to consider is how large you want your stamp. I use 4”x6” Speedy Carve blocks. Most of my stamps are 4”x3” so I can get two stamps per block. Since this is a multi-layer block printing project I recommend using this size or smaller.
Outline the stamp onto a piece of printer paper so that you know what size to make your drawing. I leave at least a 1/4” boarder in my sketch so that my fingers have room to grip the stamp without getting inky. Bold, thick lines work best for this project so I suggest using a marker to really make those lines pop.
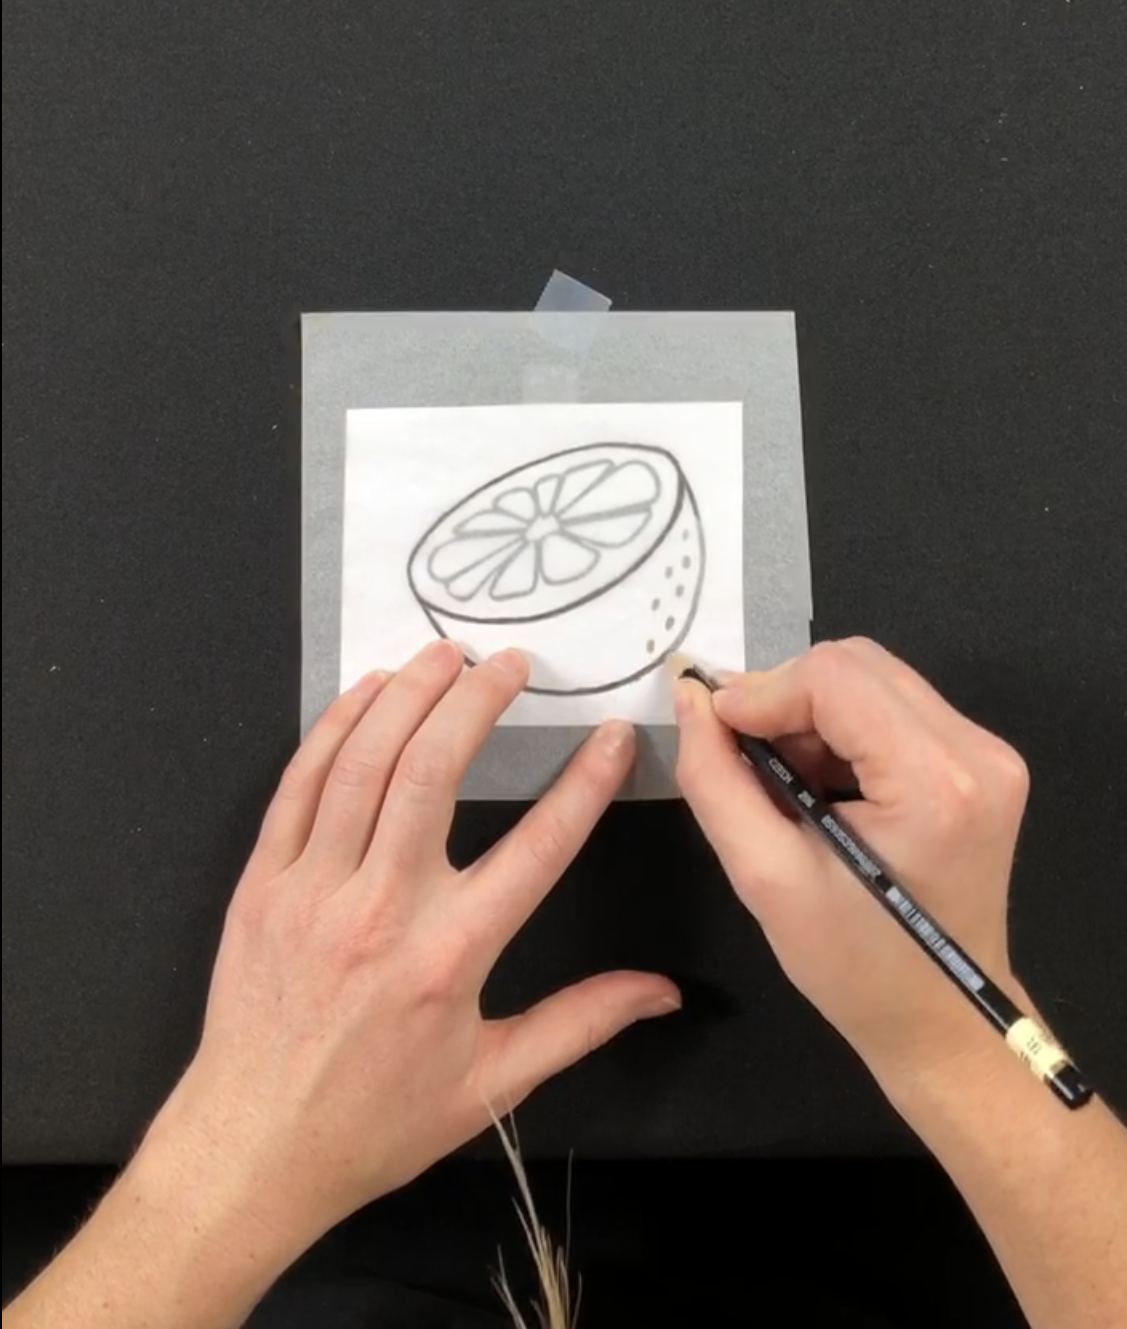
There are several ways to go about transferring your drawing onto the block but I prefer hand-burnishing. Secure your drawing to the table and tape a piece of tracing paper on top. Trace over your lines using a 2B or 3B pencil. I use tracing paper so that I don’t ruin my original drawing and I also think it’s easier to see the line work. Be sure to make your lines dark because we are transferring the same image to the block twice.
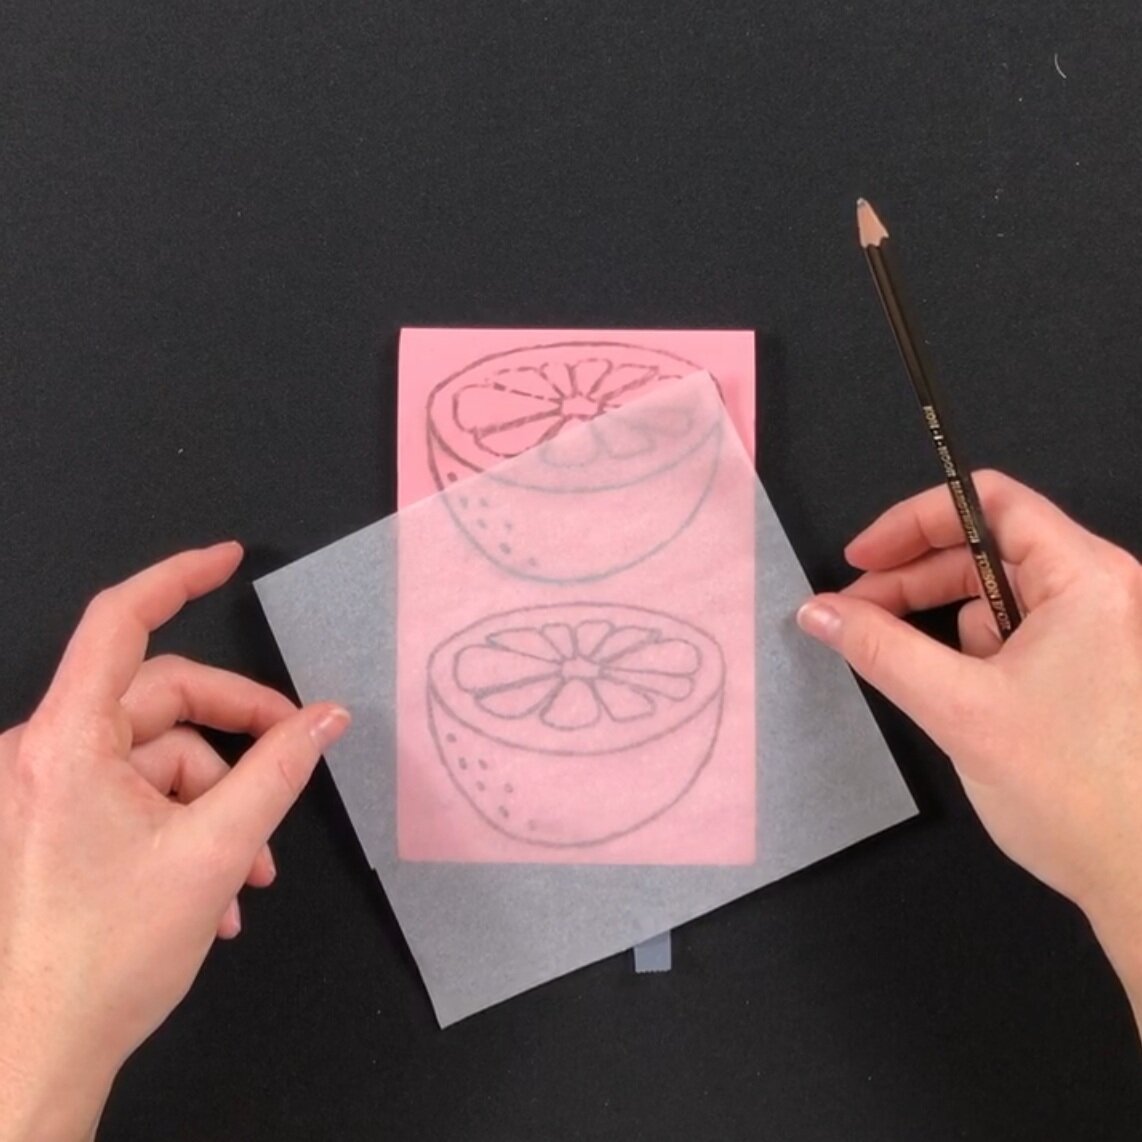
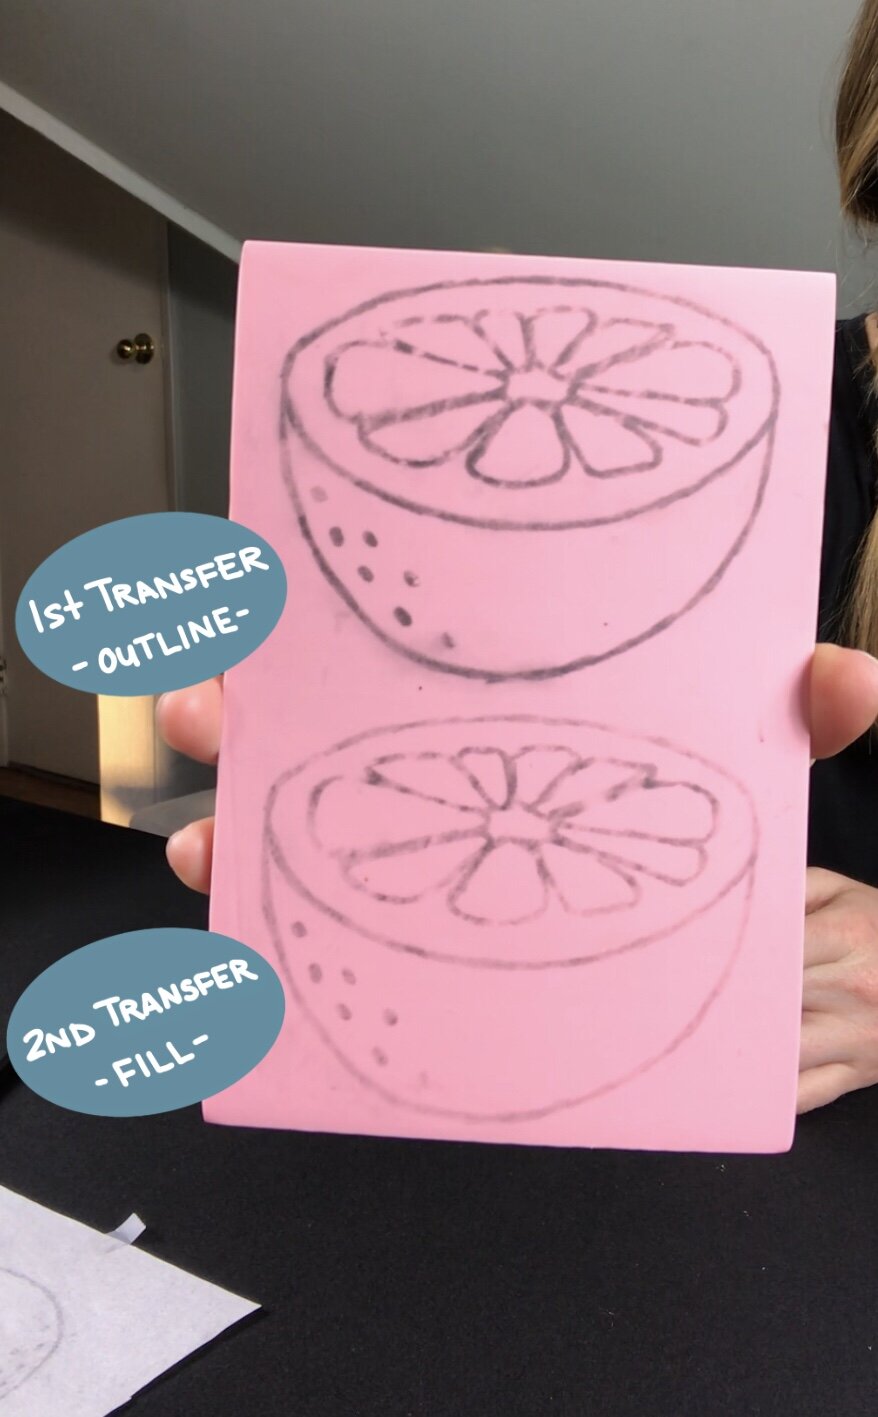
Flip the tracing paper over and secure it to your block with tape. Use the back of your lino carver or the back side of a spoon to burnish your pencil design onto the block. You do not need to rub very hard. Since this is a multi-layer block print you will want to do this step twice using the same trace. The second transfer will be slightly lighter but that’s okay. We’ll use the first (darker) transfer for the line work and the second (lighter) transfer for the fill.
Ready to Carve
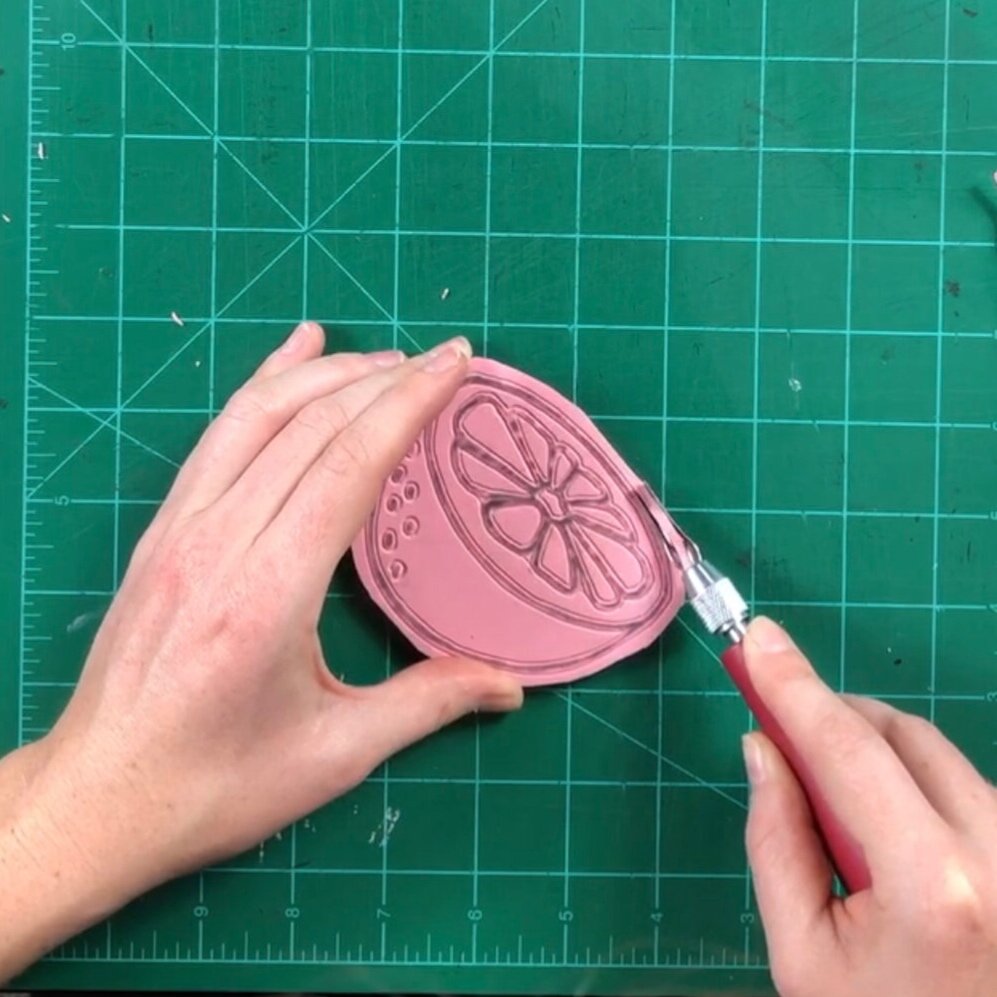
The image is now transferred onto the block, twice. There’s no need to carve additional negative space than necessary so I use an X-Acto knife to trim around my drawing, leaving a 1/2” – 1/4" boarder.
The small V gouge (blade 1) is your best friend. I use this blade to outline my shapes and carve any fine detail. I find that moving the block allows me to easily work my way around the shapes. The left hand moves the block and the right hand guides the blade (I’m right-handed). Be careful, take your time and have fun with carving.
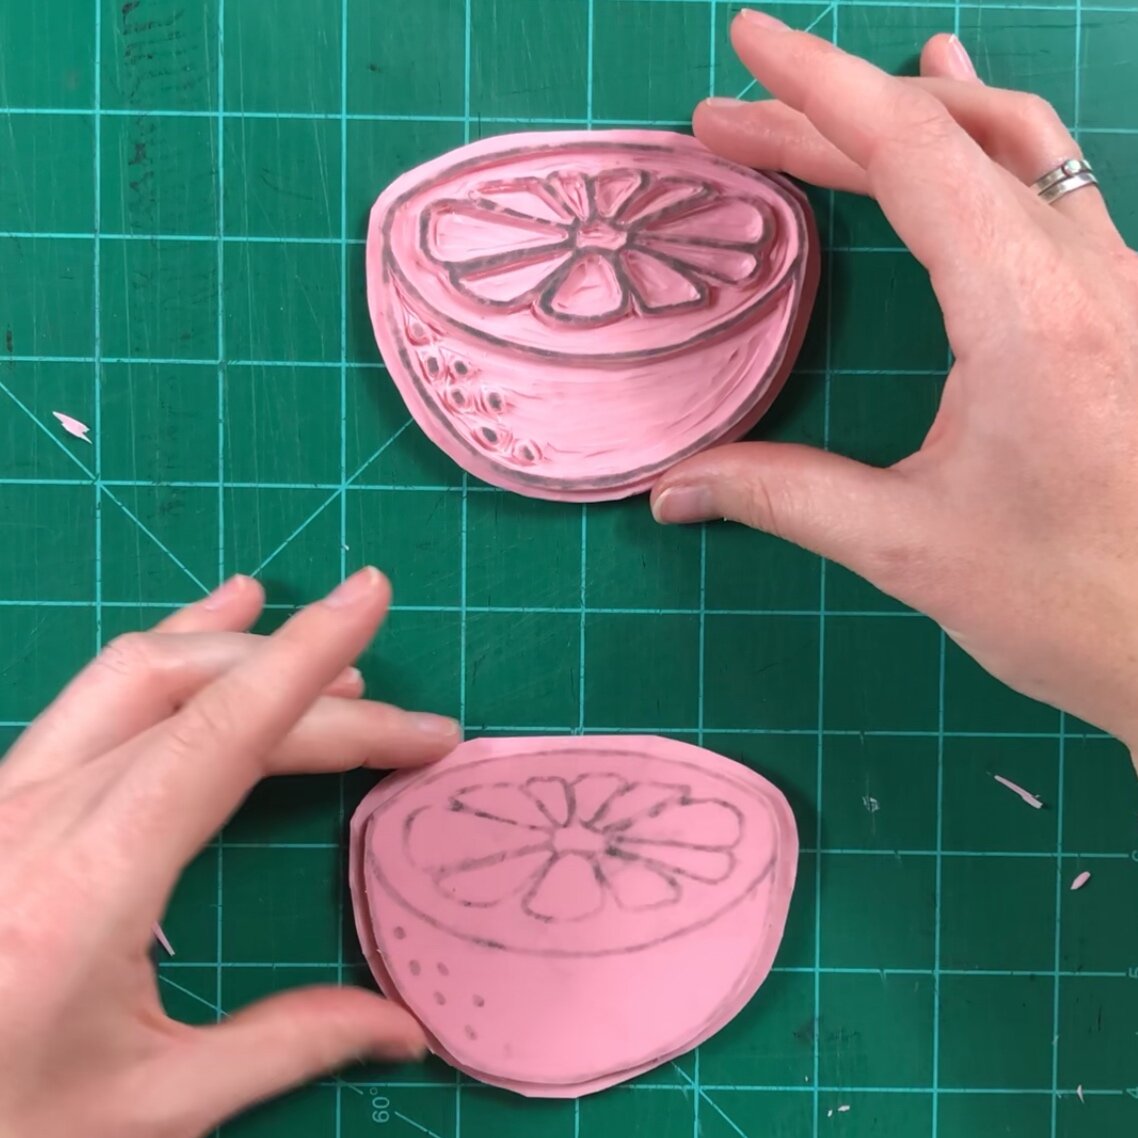
Block 1: The fill (2nd lighter transfer)
The fill block will have far less detail. You could add some texture if you’d like but I left mine solid. Trace around the shape with the small V gouge (blade 1). Use the square gouge (blade 4) to carve this area to a 1/8” depth.
Block 2: The outline (1st darker transfer)
Trace around the shape with the small V gouge (blade 1). Use the large V gouge (blade 2) and square gouge (blade 4) to carve out the negative space. The raised areas of the block will receive the ink. I recommend 1/8” depth.
Plan Ahead
Before executing any print job I sketch a few compositions to play around with stamp placement. Here are some things to consider:
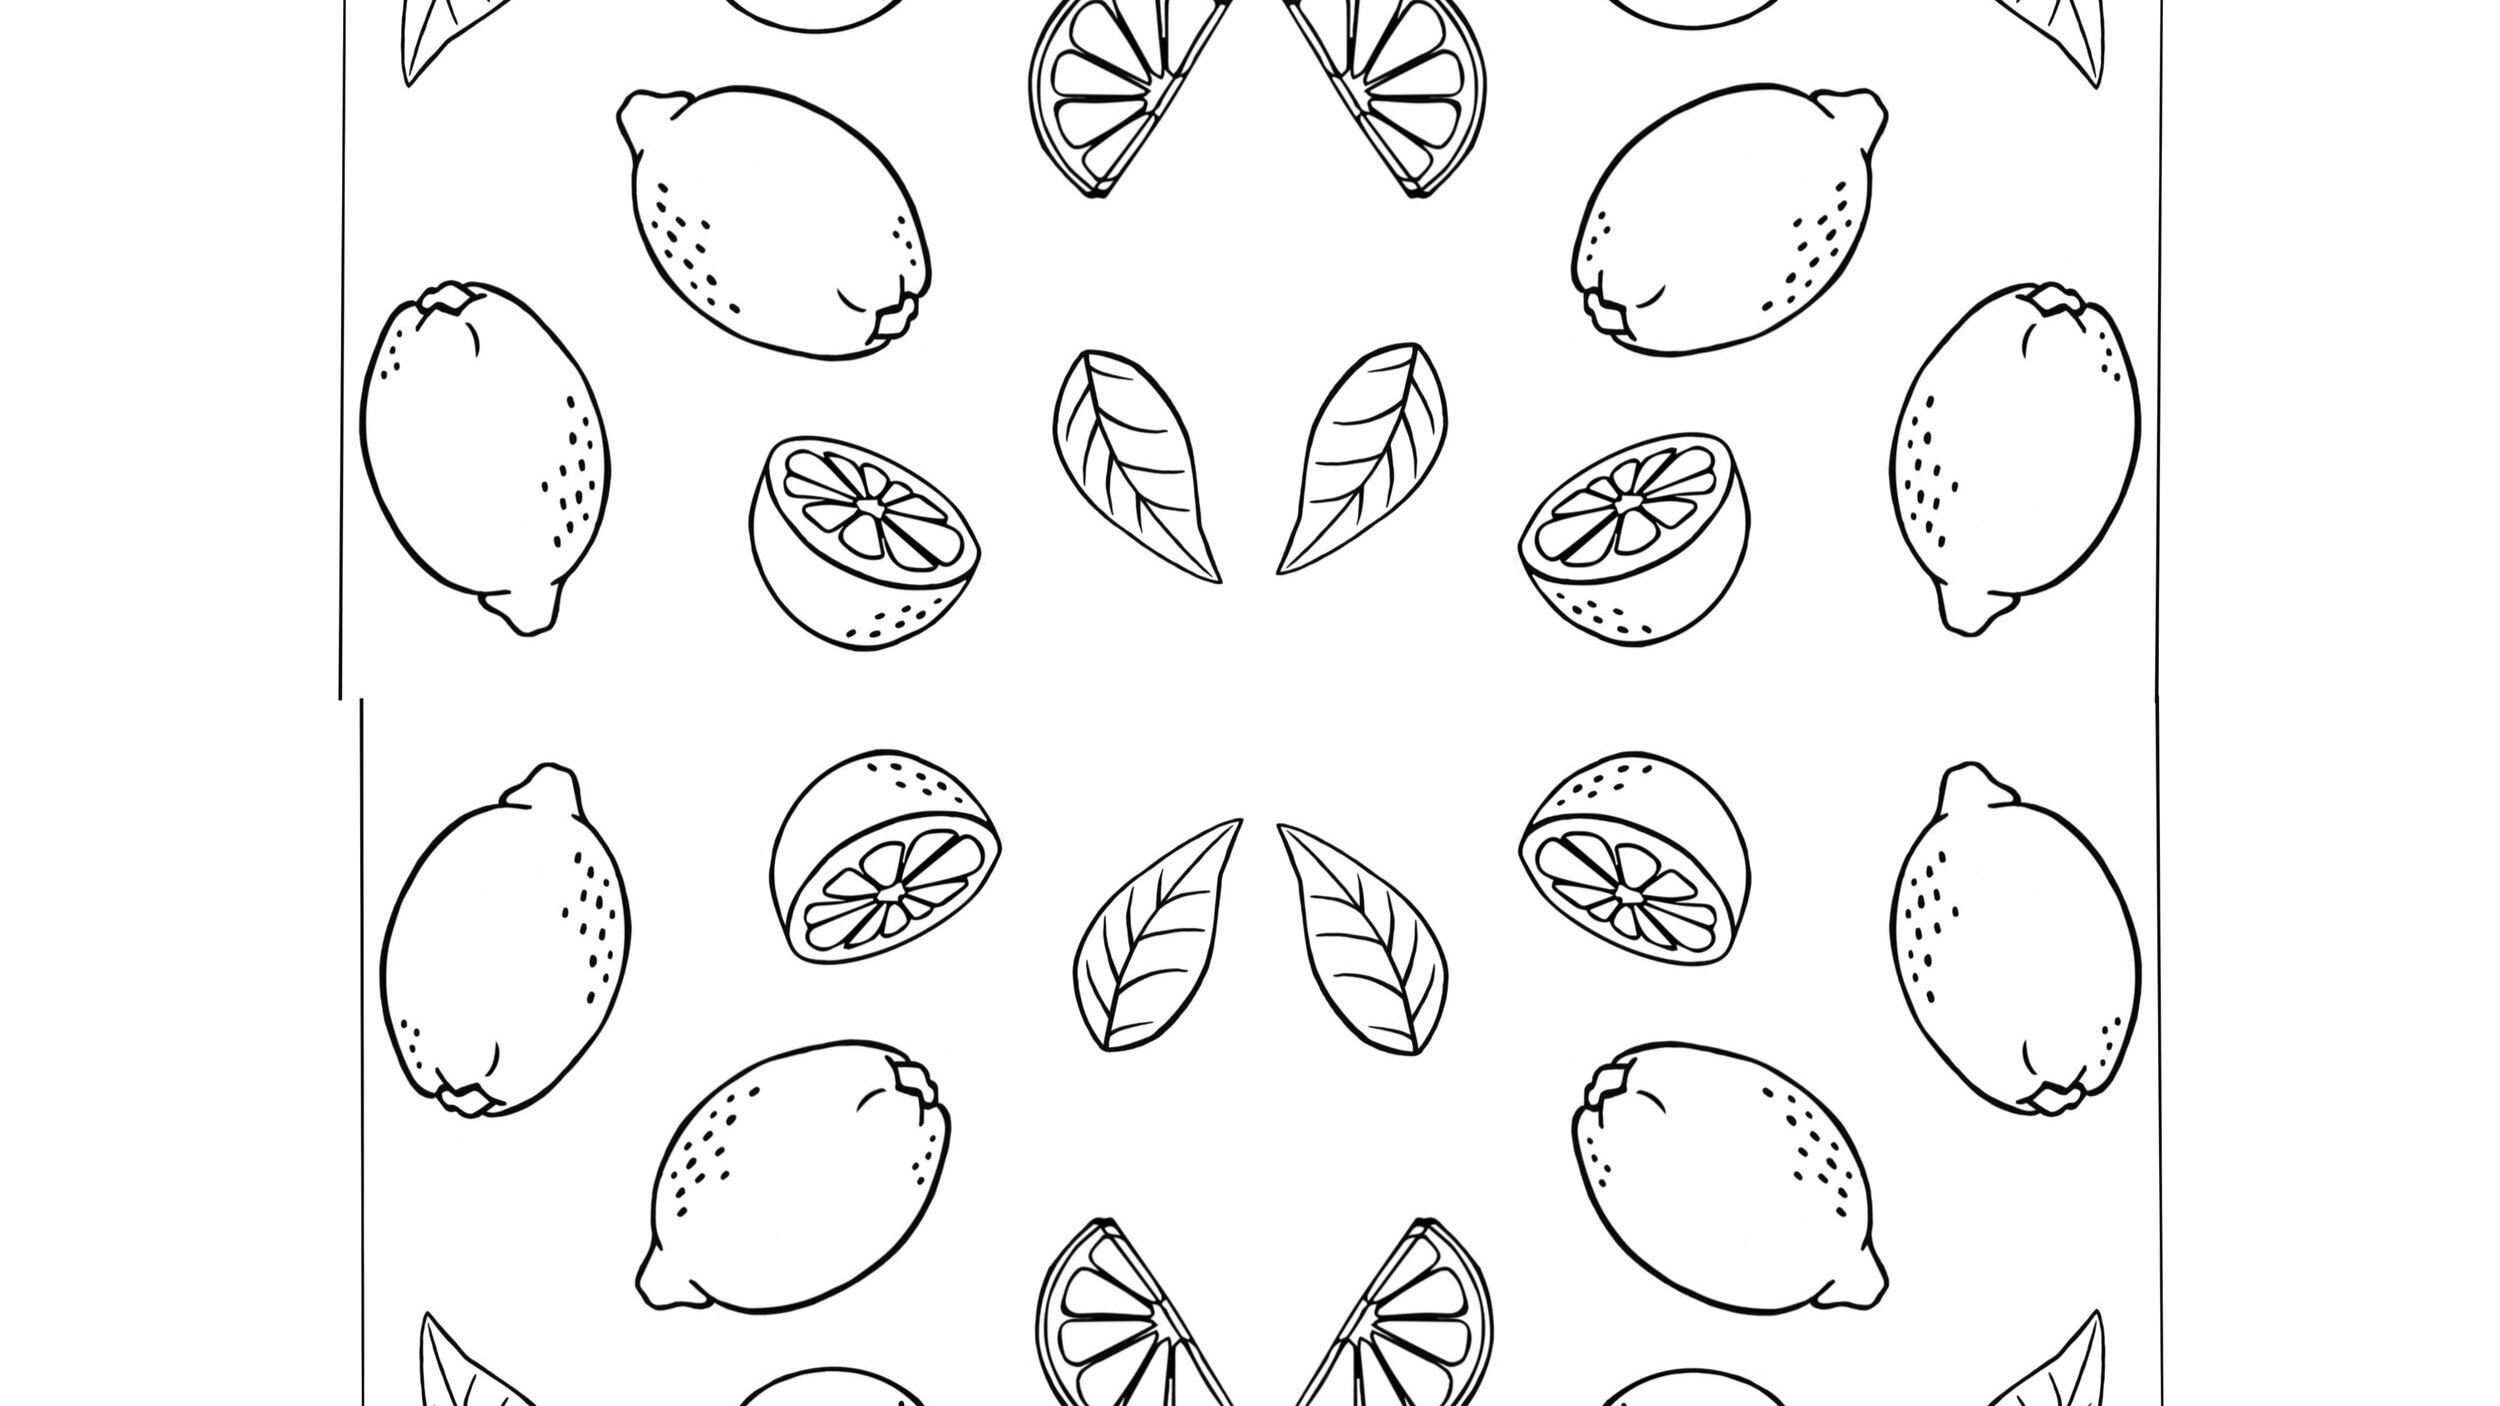
Pattern
Pattern is made by repeating an element to create a sense of balance or rhythm. Patterns can be organic, geometric, positive, negative, repeating or random.
Registration
Registration is the alignment of the two blocks. You will notice in my example that the two blocks do not align. This offset registration was intentional. Decide what works best with your design.
Fabric
This ink works best on cotton, polyester, blends, linen, rayon and other synthetic fibers. As a general rule of thumb I always pre-wash my fabric before block printing. I let my fabrics air dry and then iron.
Getting Inky

Your two blocks are carved, you have a rough idea where you want to place those stamps and now it’s time to get inky! For this project we are using Speedball’s fabric block printing ink. This oil-based ink cleans up with soap and water which is a big plus when printing at home. The ink cures at room temperate in one week and does not require heat-setting. The colors are vibrant but you can use transparent base to soften the tone if that’s your vibe.
You will print block 1 (the fill) first, wait 24-48 hours and then print block 2 (the outline). The oil-based ink needs at least one day to set before overlapping the next color.
Apply a quarter-sized bead of ink on your palette. I use a piece of plexi I borrowed from a picture frame but really any flat, slick surface will work. Oil-based ink tends to separate in the tube so give the ink a stir with a palette knife. Apply several thin layers of ink to your carved block. Be sure to pick up your brayer often so the ink disperses to all areas of the block. Block printing on fabric requires more ink than printing on paper. Examine your block to make sure the printing surface is fully covered and looks slightly tacky, but not caked with ink.
Let’s Print!


Position block 1 (the fill) on the fabric and use either a baren or your finger tips to press the block firmly into the fibers of the fabric. Slowly peel the block away from the fabric to reveal your impression. Oooh! Aaah! Repeat this step to create the first layer of your pattern.
Store the fabric in a safe place with plenty of air movement for 24-48 hours. Once the ink is dry to the touch you can start printing block 2 (the outline). This layer makes the composition pop. I had a lot of fun playing around with offset registration and intuitively dropping the block on the fabric.
After each print session be sure to wash your brayer, stamps, palette knife and palette with soap and warm water.
Below is a video walking you through the entire process from start to finish!

Thank you for following along! I hope you learned something new about block printing on fabric. I’d love to see your print projects! Please tag me on Instagram @Lakeeffectpress